All About Web3 Storage with Demo App tutorial
Store Data in Decentralized Web from your own dApp with APIs and SDKs and much more .


In this blog , We will learn more about development with Web3.storage and by the time you complete the blog , you will surely learn something more about Web3.storage and IPFS ,that will level up your Web3 journey.
So let's Start 🚀🚀
What is Web3.storage ?
- The easiest way to store data on the decentralized web via JS Client .(IPFS)
- Store your data using simple API. It’s fast, open, and it’s free.
- Retrieve the data with ease from IPFS .
Why Web3.Storage ?
- Use simple client library or the HTTP API directly in you dApp for integration
- All data stored is accessible on the public IPFS network via CID and can be accesses any time
- Data is stored on File Coin Network , which is free Upto 1 TB+
How to use Web3.Storage ?
Via Account section
- Head Over to Account on Web3.Storage
- There you will get an option to upload files and get a CID .
- Simple way to store all the Data directly to IPFS
- Data can be retrieved any time from files section
With Script and Node.js
- Create a folder and Store all the files you want to Store
- Make a file named put-files.js
- Add this code to your file
import process from "process";
import minimist from "minimist";
import { Web3Storage, getFilesFromPath } from "web3.storage";

async function main() {
  const args = minimist(process.argv.slice(2));
  const token = args.token;

  if (!token) {
    return console.error(
      "A token is needed. You can create one on https://web3.storage"
    );
  }

  if (args._.length < 1) {
    return console.error("Please supply the path to a file or directory");
  }

  const storage = new Web3Storage({ token });
  const files = [];

  for (const path of args._) {
    const pathFiles = await getFilesFromPath(path);
    files.push(...pathFiles);
  }

  console.log(`Uploading ${files.length} files`);
  const cid = await storage.put(files);
  console.log("Content added with CID:", cid);
}

main();
This code take the files as input , initializes Web3 Client and uploads all the files in the Folder, returns a CID back
- Add code to a package.json
{
  "name": "web3-storage-quickstart",
  "version": "0.0.0",
  "private": true,
  "description": "Get started using web3.storage in Node.js",
  "type": "module",
  "scripts": {
    "test": "echo \"Error: no test specified\" && exit 1"
  },
  "dependencies": {
    "minimist": "^1.2.5",
    "web3.storage": "^3.1.0"
  },
  "author": "YOUR NAME",
  "license": "(Apache-2.0 AND MIT)"
}
- Get API Token from here
- Run
npm installto install the packages - Run Script
--> Upload whole folder
node put-files.js --token=<YOUR_TOKEN> ./files--> Upload specific filenode put-files.js --token=<YOUR_TOKEN> ./files/fileName1 ./files/fileName2
And Voila ! You will get the CID in console and You have stored a file Successfully via JS 🔥🔥.
With Next.js/React.js App
Now integrate Web3Storage Client in you Next/ React Dapp in just 5 steps .
I have prepared a live Website for you all to try it out.
- Create a Next App
- Get the API token from here
- Install package with
npm install we3.storage - Create a component named StoreContent with the code :
import { Web3Storage } from "web3.storage";
import { WEB3STORAGE_TOKEN } from "../constants";
const web3storage_key = WEB3STORAGE_TOKEN;
function GetAccessToken() {
  return web3storage_key;
}

function MakeStorageClient() {
  return new Web3Storage({ token: GetAccessToken() });
}

export const StoreContent = async (files) => {
  console.log("Uploading files to IPFS with web3.storage....");
  const client = MakeStorageClient();
  const cid = await client.put([files]);
  console.log("Stored files with cid:", cid);
  return cid;
};
- Store the API key in your .env folder or any other folder and import it here
- In the main File (index.js), Create a File state
const [files, setFiles] = useState([]); - Take a input this way and setState automatically .
 <input
   className={styles.inputBox}
   type="file"
   onChange={(e) => setFiles(e.target.files[0])}
  ></input>
- This will accept only 1 file input at a time .
- Create a function upload which calls StoreContent Component( Do import the component first ).
- Button can be created and upload must be called to upload the files and this will return a CID in the console, which can be displayed on the Screen using CID state.
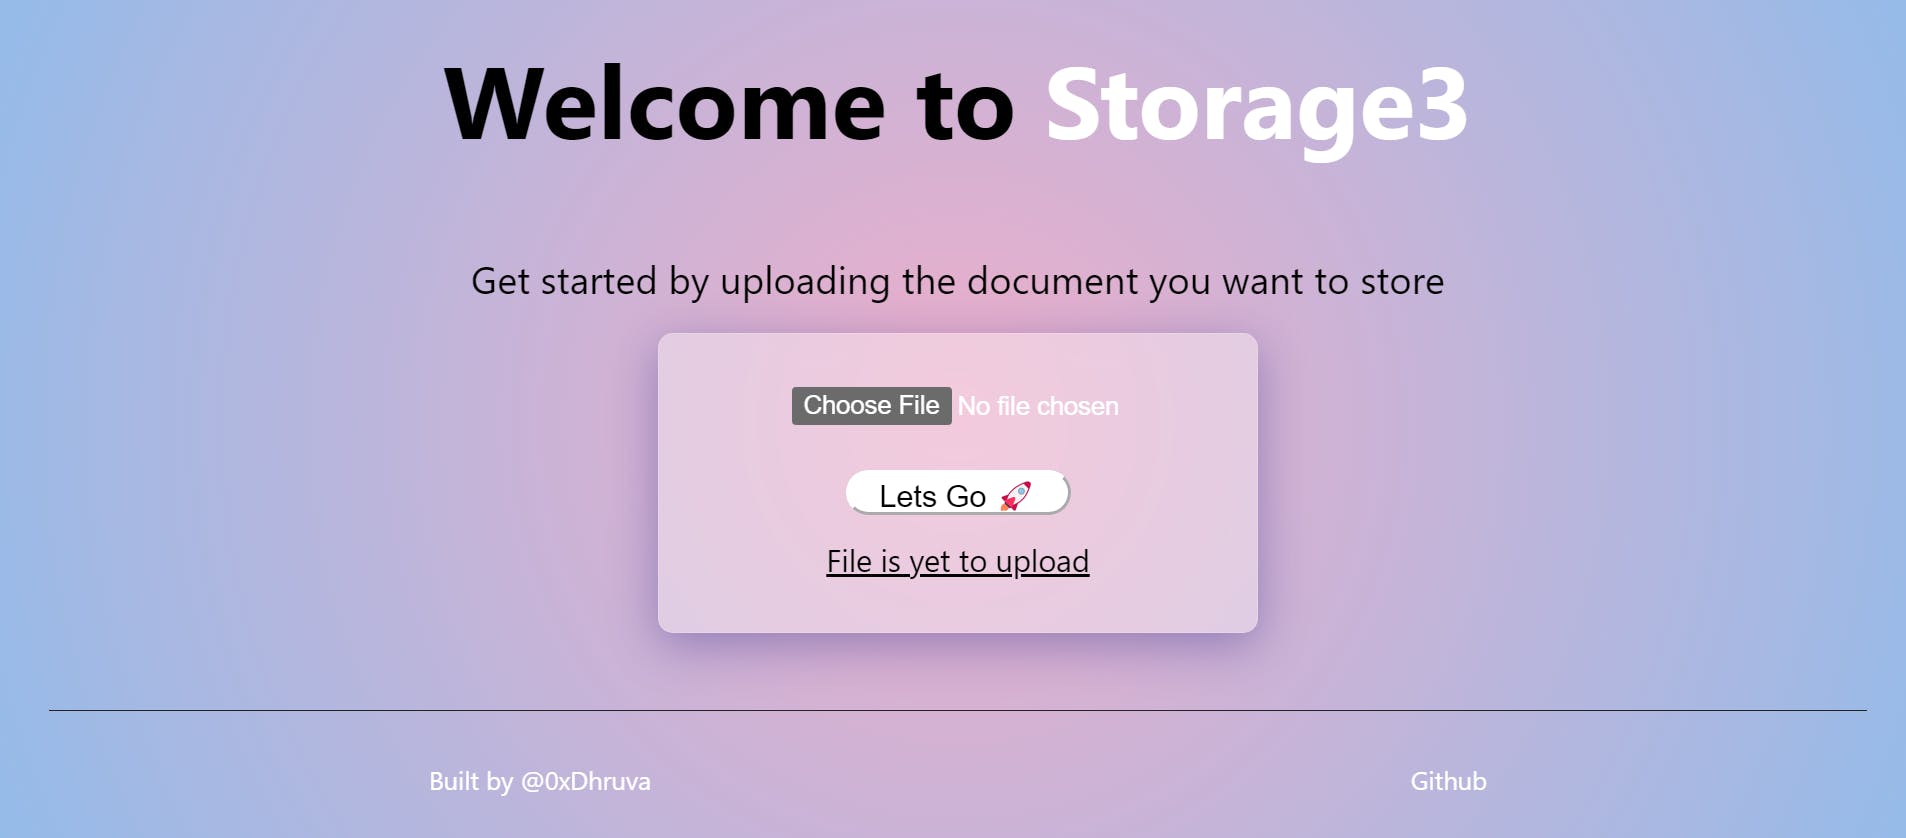 Check Console for detailed status of upload .
This Successfully completes the Dapp for Uploading the files to IPFS via web3.storage Client.
Check Console for detailed status of upload .
This Successfully completes the Dapp for Uploading the files to IPFS via web3.storage Client.
For any other Reference : web3.storage/docs .
Thank you for reading the blog . Meet you next time with some other blog. Do give me a follow on twitter @0xdhurva and share this article with your friends . 👋👋